3D  LabteK
follow us on twitter
  • Home
  • Our Improvement
    • Alu X-Carriiage Rev 02
    • 3D Models
  • Shop
  • 3D Printers
    • DIY Printer
    • Prusa i3 Full Mchanical Set
    • 3D Printer Parts >
      • Prusa i3
      • Prusa MENDEL V2
      • MENDEL 90
      • 3D Labtek Z axis Coupler
      • GREG's Geared Estruder
      • WADE Geared Estruder
    • 3D Labtek Hot End >
      • Hotend Spares
    • Accessories >
      • Motion
  • Filament
  • Service
    • UsefulLink
    • Manuals >
      • Pi3-2014 >
        • VI-FRAME
        • VI-Y-Carriage
        • VI-X-Axis
        • VI-Z-Axis
        • VI-GREG
    • Download
    • Video
  • Contact us
  • Blog

Easy Belt Fix For Alu X-Carriage

9/15/2014

0 Comments

 
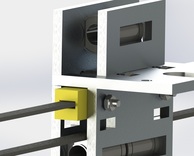
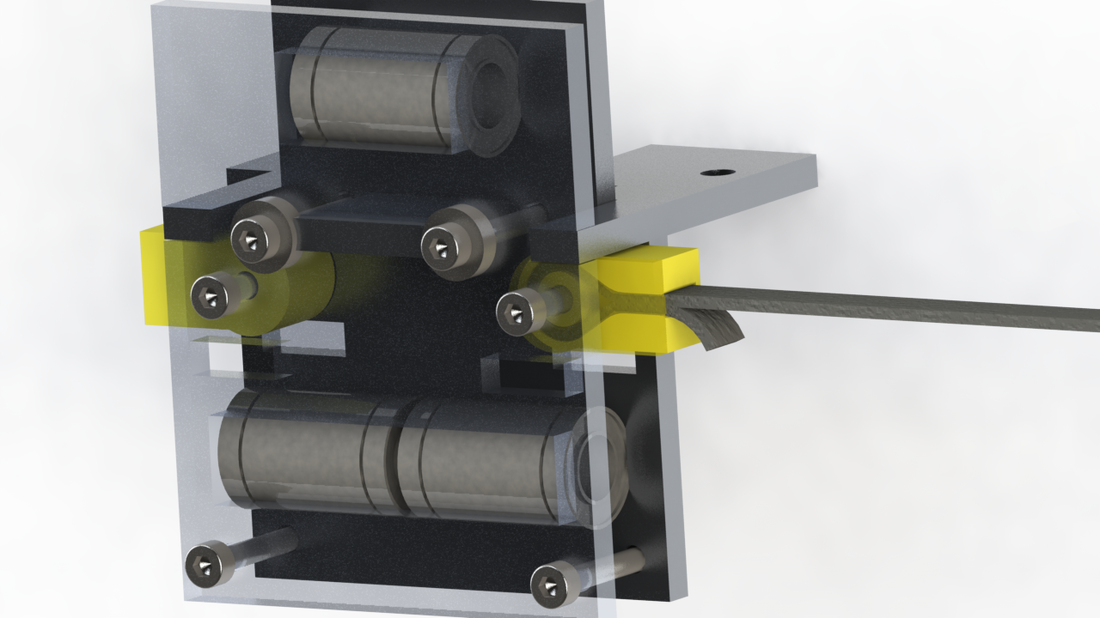
We developed this item following suggestion from our customer and make easy the installation and the removal of the belt in the aluminum x-carriage.

Picture
Picture
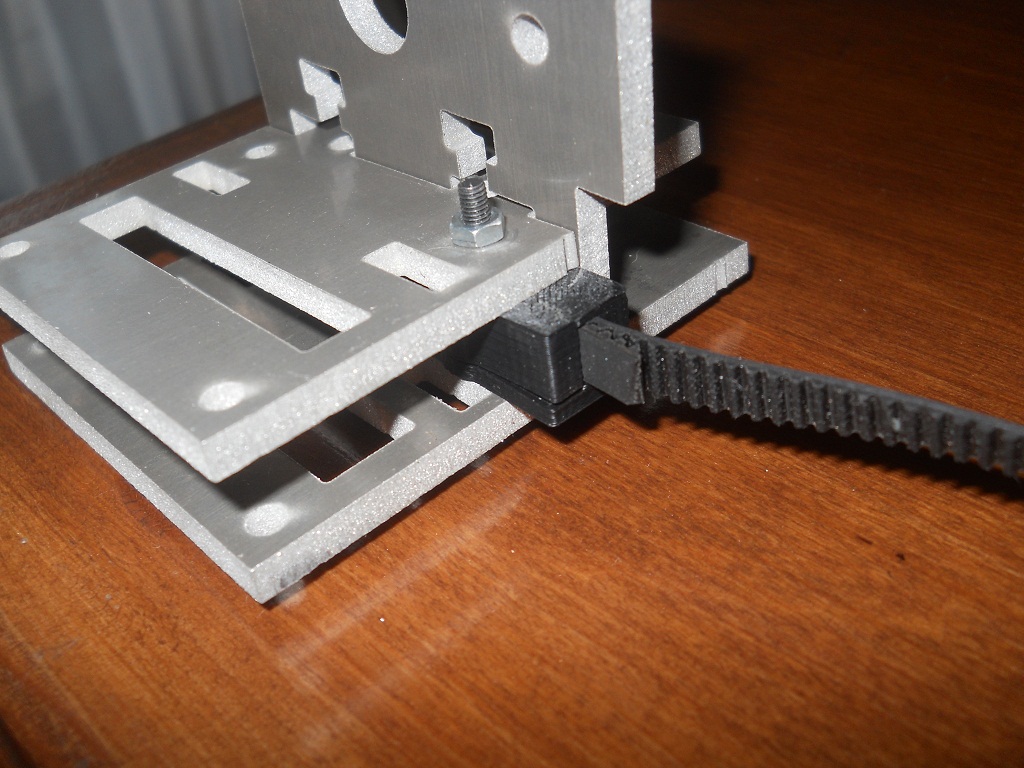
Once assembled the x carriage, it is enough to insert the belt in the plastic part and fix it with an M3 x 25 mm in the hole present in the carriage body previously used for the eccentric part
The position of the belt can be easily adjusted  as the retain is made by the teeth of the belt itself.
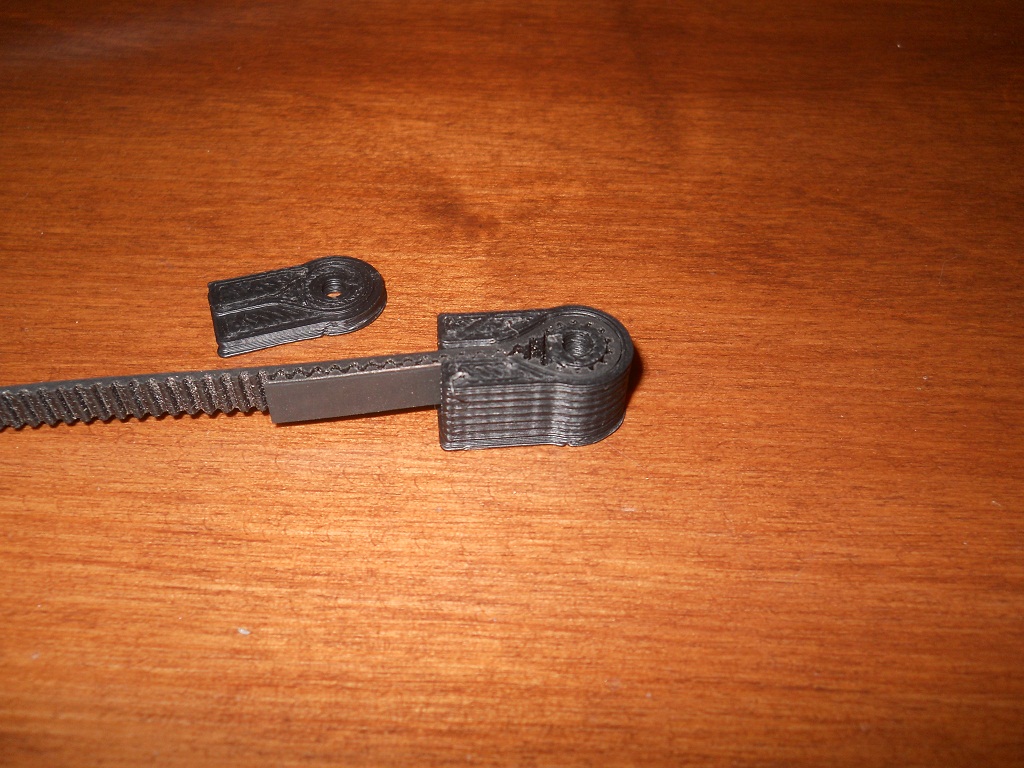
Picture
Picture

download

belt_holder-base.stl
File Size: 73 kb
File Type: stl
Download File

belt_pusher.stl
File Size: 68 kb
File Type: stl
Download File

2 Pieces for each part are needed. Suggested layer thickness 0,2 mm infill 100%
0 Comments


Leave a Reply.

    Archives

    May 2015
    February 2015
    January 2015
    December 2014
    November 2014
    October 2014
    September 2014
    August 2014
    July 2014
    June 2014
    April 2014
    February 2014
    January 2014
    November 2013
    July 2013
    June 2013
    May 2013
    April 2013

    Categories

    All
    Full Metal Hot End
    News
    Printed Parts
    Protptype

    RSS Feed

Powered by Create your own unique website with customizable templates.